Stencil Tutorials
Paint Stencil tutorial
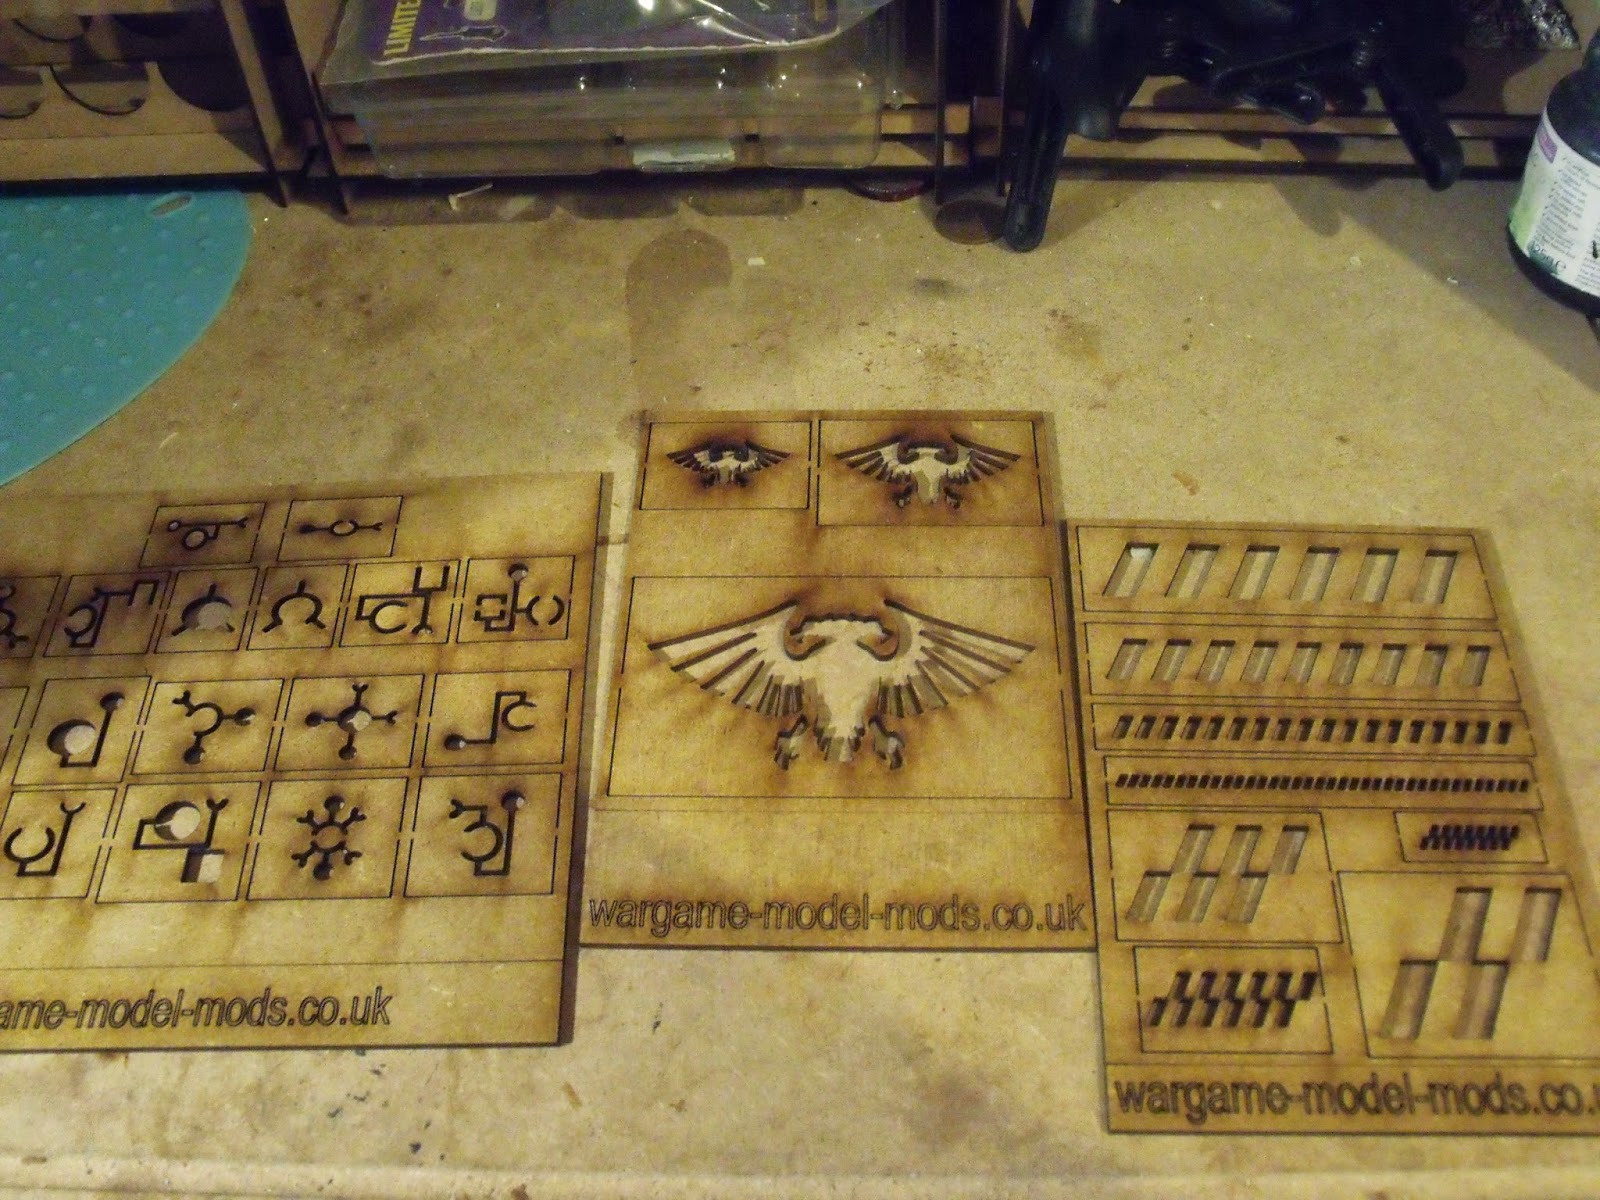
The paint stencils come in two formats a pop out or a standard format.
This guide covers how to use both types
Pop out
The pop out stencils are made so you can removed the decal parts from the overall stencil, This allows you to use the decal in one of two ways
- As a decal you glue on to your model / buildings, adding more details and features to it
- As a paint stencil that will fit into smaller and harder to reach places than the sized standard stencil


Firstly choose which decals you want to use then use a sharp craft knife to remove it from the stencil

Using the knife clean up the edges of the decal, This is important if you want to line several up together or when using it as a decal

A decal stuck in place to add extra feature to the buildings and make it unique

To use it as a stencil tape it in place and cover the surrounding area to make sure paint only goes where it should


Finished results

If you have a stencil such as this one but you only want one of the words to show you have to use some masking tape to cover
the undesired word, this also applies to the standard format stencils


The stencil covered

The results

Some of the decals work great together, cut them off the stencil and clean up the edges so they fit next to each other nicely
tape them in place and put a small strip across the joins just to make sure no paint gets through

The results
Standard stencils

To use the standard stencils the method is much the same

Tape the stencil in place, lining up the decal as desired and taping off the spare ones

Results