3 ways to paint Space Elf terrain
Posted on
Painting terrain with large, flat surfaces can be intimidating, especially without the high-tech gadgets or expensive tools you see in many painting tutorials.
This article will show you three different ways to paint your Space Elf terrain cheaply and quickly with everyday tools. You don’t have to use the same brands as the ones in the pictures, just whichever is most accessible for you.
I’ve used a single spire from the Spirit Towers set for this tutorial.
1. Spray cans
This is the quickest method of the three, but requires an unusual colour of spray paint that would need to be bought online or from your local hobby store.
You will need:
A white spray paint
A yellow or light brown spray paint
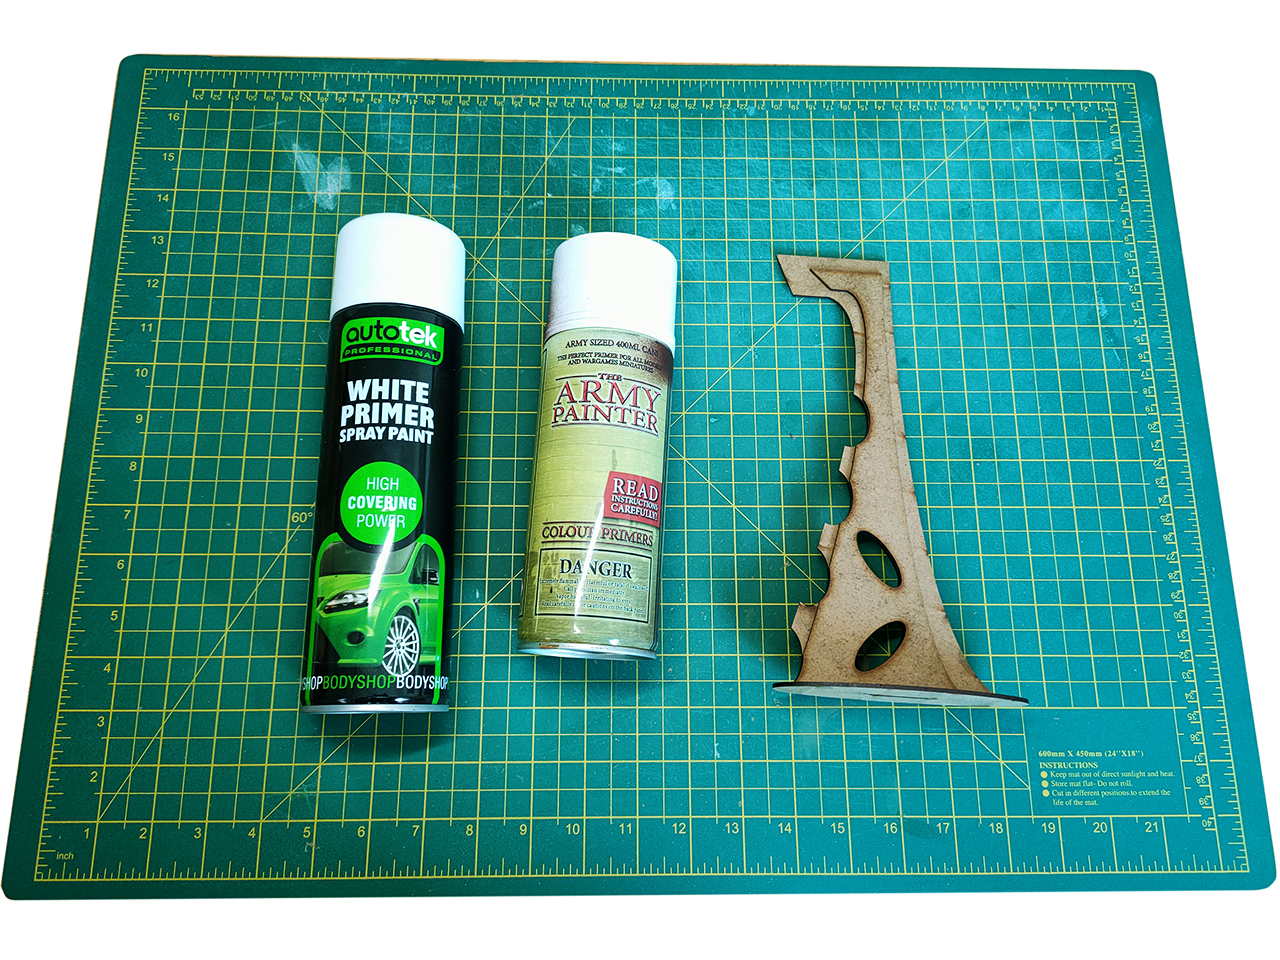
I’ve used a cheap white car primer from my local discount store - it works the same as ‘hobby’ spray paint but half the price. The downside is they only come in basic colours - black, white and grey. For the light brown/yellow colour, you’ll have to order it in specifically.
The overall aim is to create a bone colour, but don’t use a bone-coloured spray. Use a darker shade like yellow or light brown, as the white will lighten it up and create better contrast in the recesses.
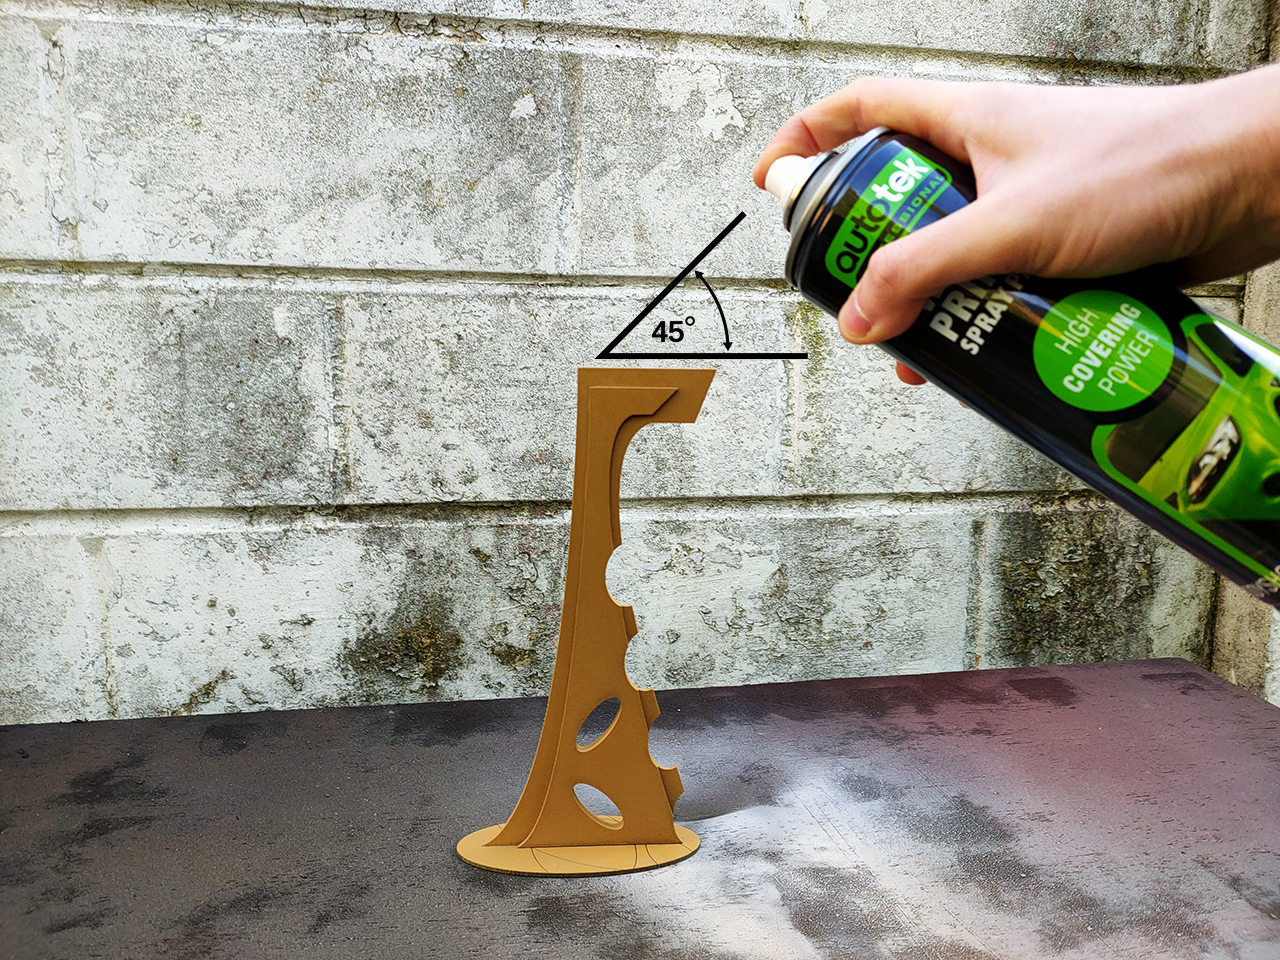
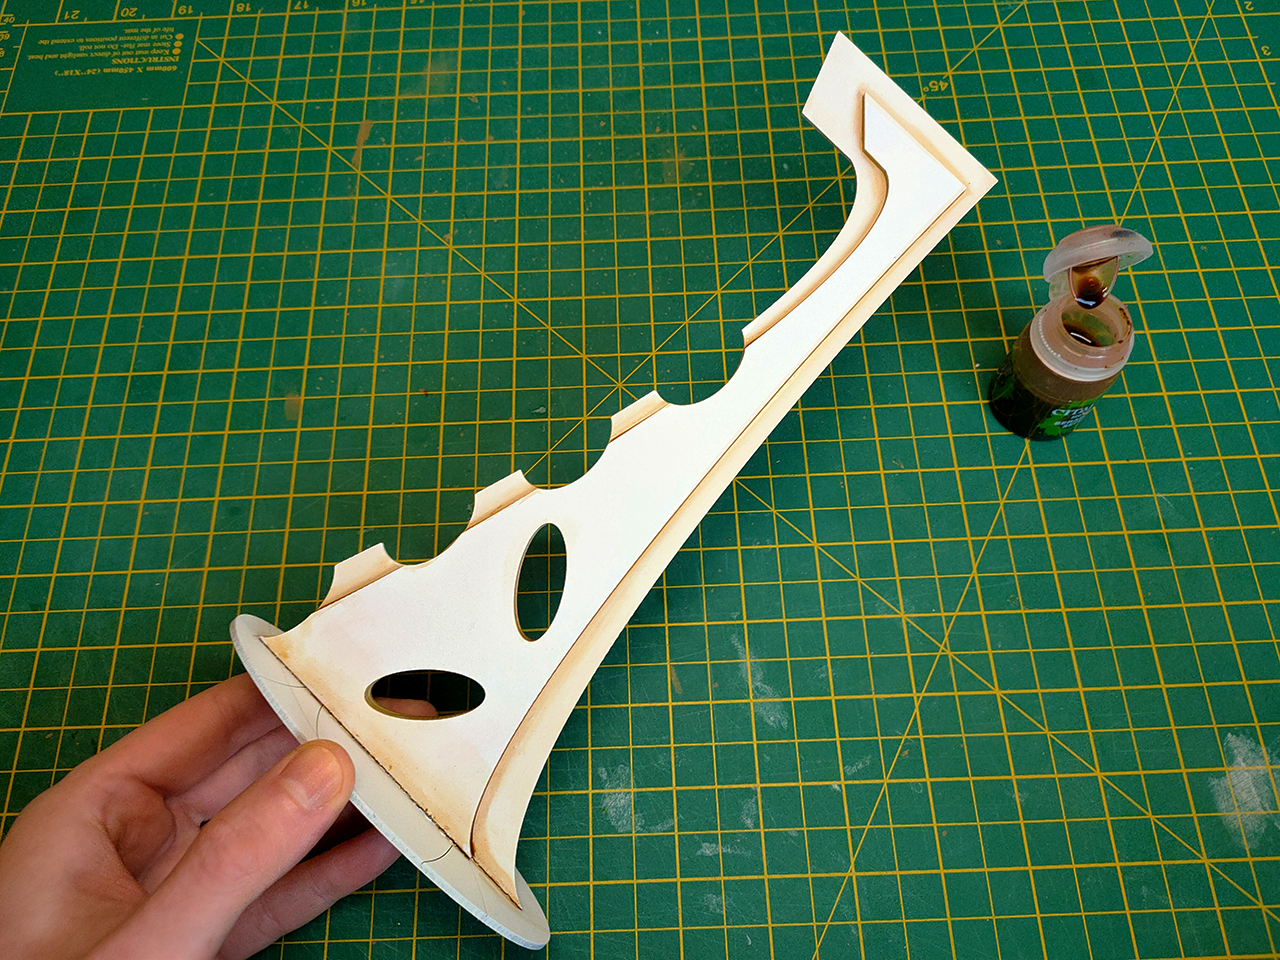
Undercoat the terrain with your yellow/brown colour, making sure to get into all the nooks and crannies. When it’s fully dry, do what’s called a ‘zenithal highlight’ with your white spray paint.
A zenithal highlight is a fancy term for a light dusting of spray paint applied from above (about 45 degrees), rather than directly at the model. Use short controlled bursts and try to be further away from the miniature than usual.
Repeatedly dusting the model from above will create a gradient between the two colours and natural shading in the recesses where the lighter coat of white hasn’t settled.
It might take a bit of practice to get right, but so long as you didn’t apply your first coat too heavily, you can always repaint it and start again. MDF is very forgiving!
When it’s dried you can put the model straight onto the tabletop, or combine it with some of these other techniques for a really high quality finish.
2. Manual
This technique uses the simplest tools that every hobbyist will have in their home - paints, brushes, and something to wipe up spills.
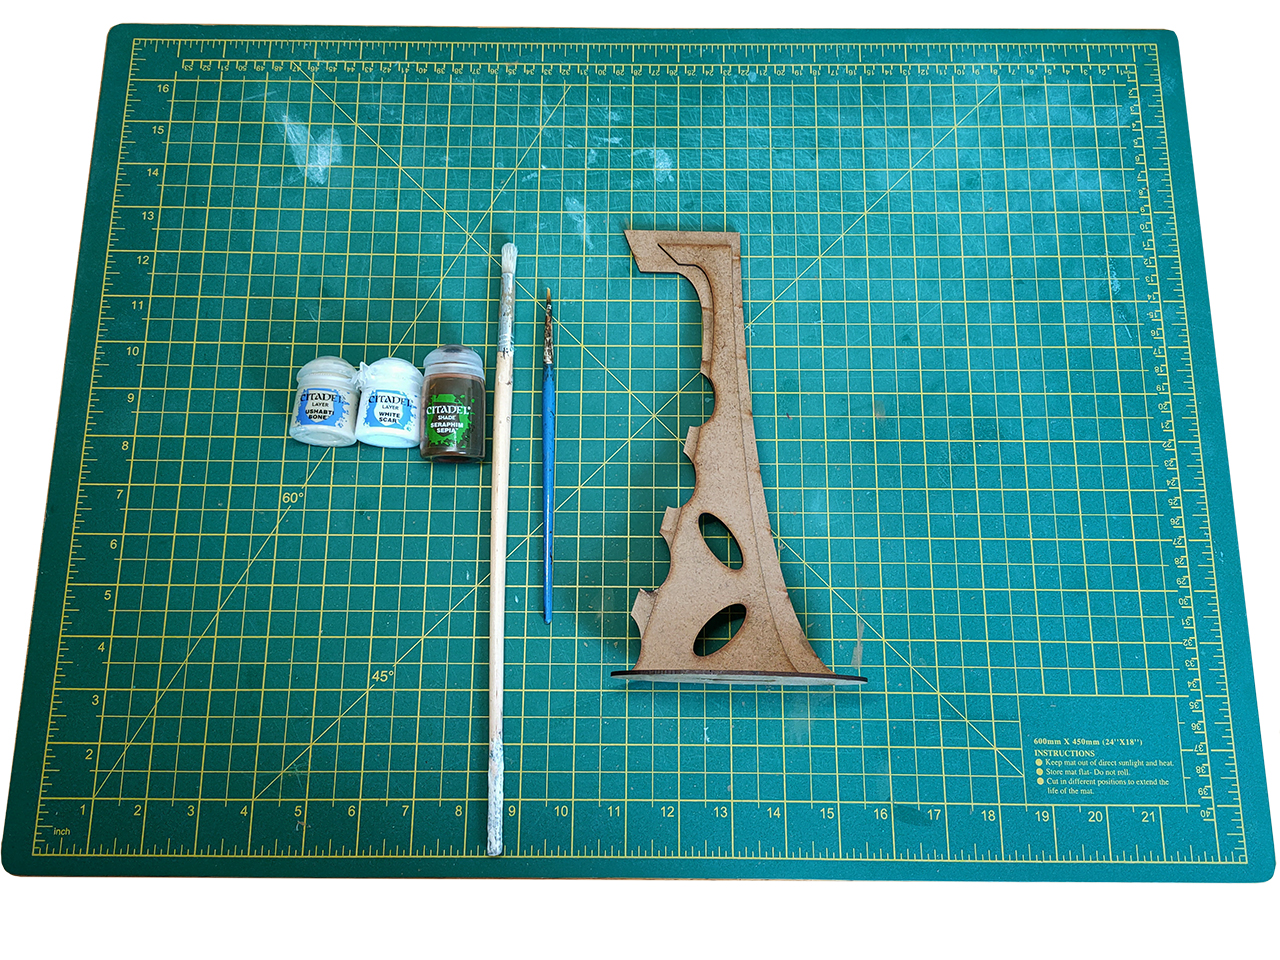
You will need:
A bone-coloured paint
A white paint
A sepia wash
Some brushes (a large for base coating and drybrushing, a smaller one for washing)
An old cloth or piece of kitchen roll
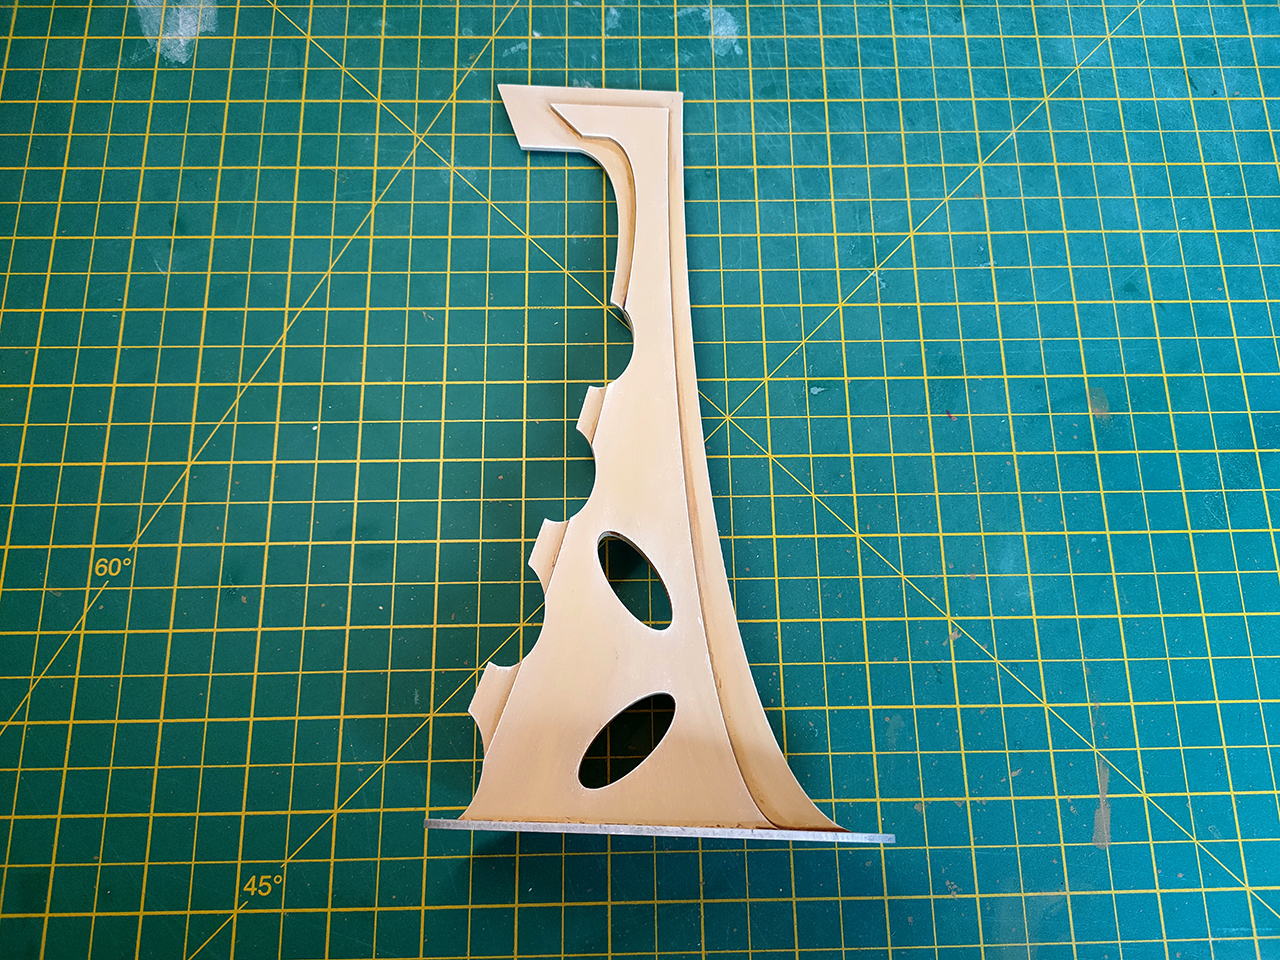
Start by base coating the miniature in bone colour with your large brush. You’ll have to do several thin coats to get even coverage, as this will form the majority colour on the finished piece.
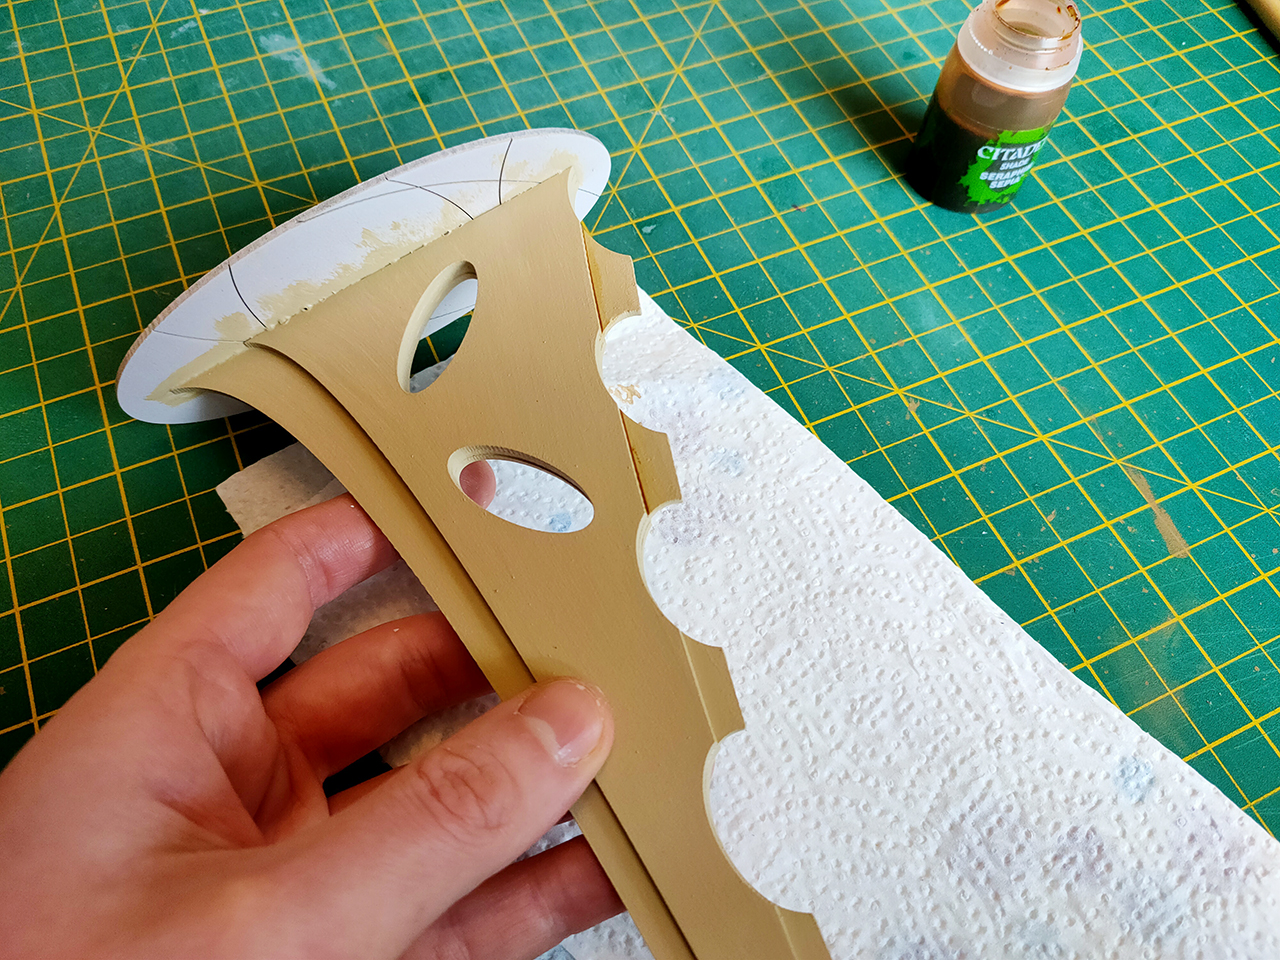
With your smaller brush, apply a heavy coat of sepia wash into a recess. Quickly take your cloth or paper towel (an old cloth wrapped around a finger works best in my experience) and wipe away the excess, leaving the wash naturally shaded. This will take some practice working out how much pressure to apply, as you want to wipe off just the outer edge of the wash so it blends into the base colour, while leaving the inner part of the wash in the recess.
If you’re not happy with the results, just paint over them when they’re dry and start again.
With the recesses shaded, the final part is to very lightly drybrush white onto the extreme edges. A larger brush works best for this - any old brush whose bristles have lost their point, or old round-ended makeup brushes work particularly well.
You want a very small amount of paint on the brush, then wipe off nearly all of it on a palette or old cloth until there is just pigment left. If there’s too much paint on the brush you’ll get streaks on the miniature.
3. Hybrid
This technique uses a cheap and cheerful combination of the above, for when you only have access to basic spray colours and don’t want to paint every piece by hand.
You will need:
White spray paint
A sepia wash
A medium-sized brush to apply the wash
An old cloth or piece of kitchen roll

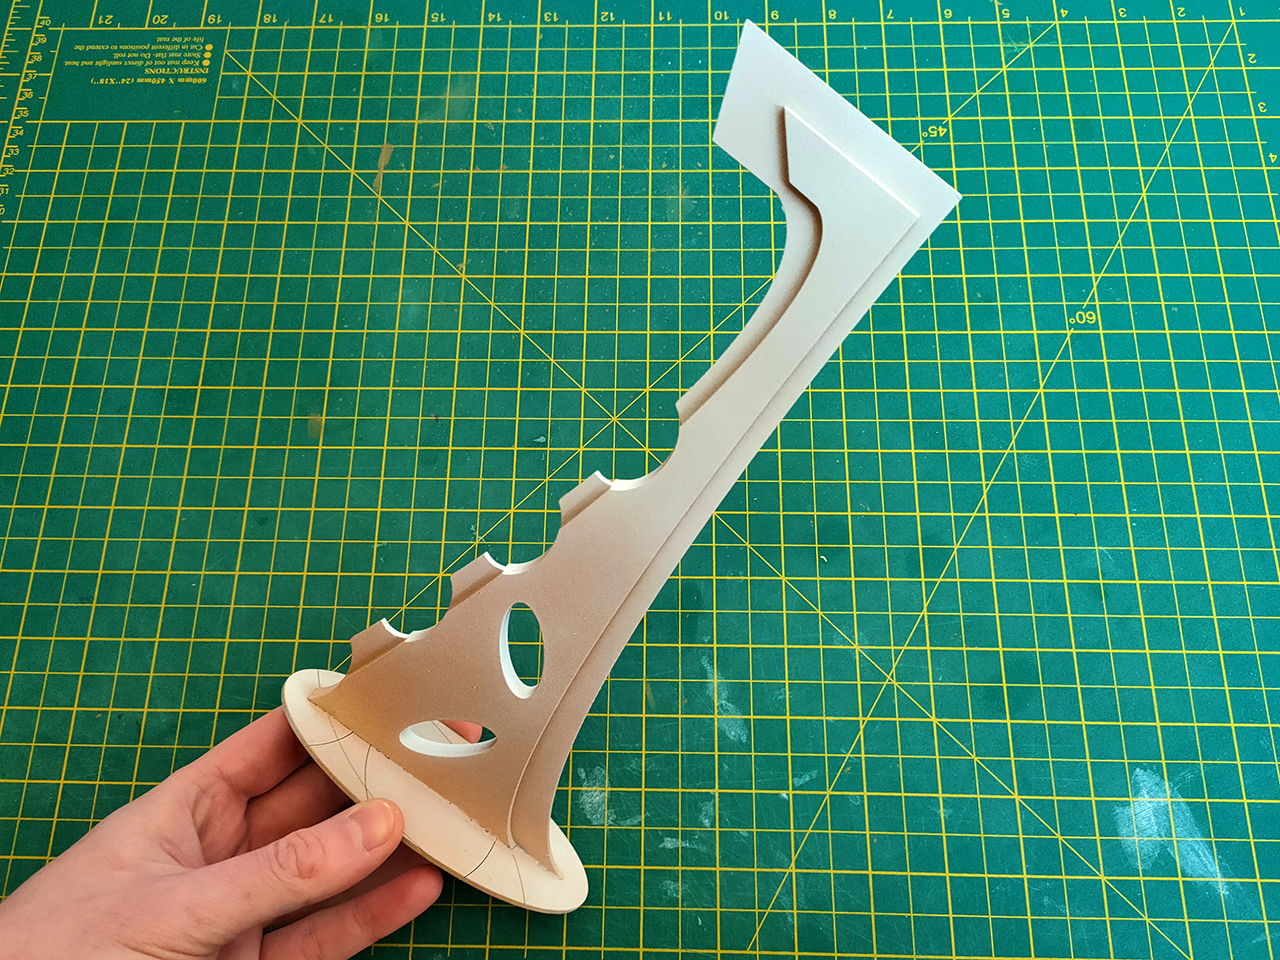
Undercoat the whole miniature in white spray paint. You’ll need to do several lighter coats to get into the recesses and get even coverage over the laser burn marks.
When dry, use your brush to apply sepia wash into the recesses, wiping away the excess as described earlier.
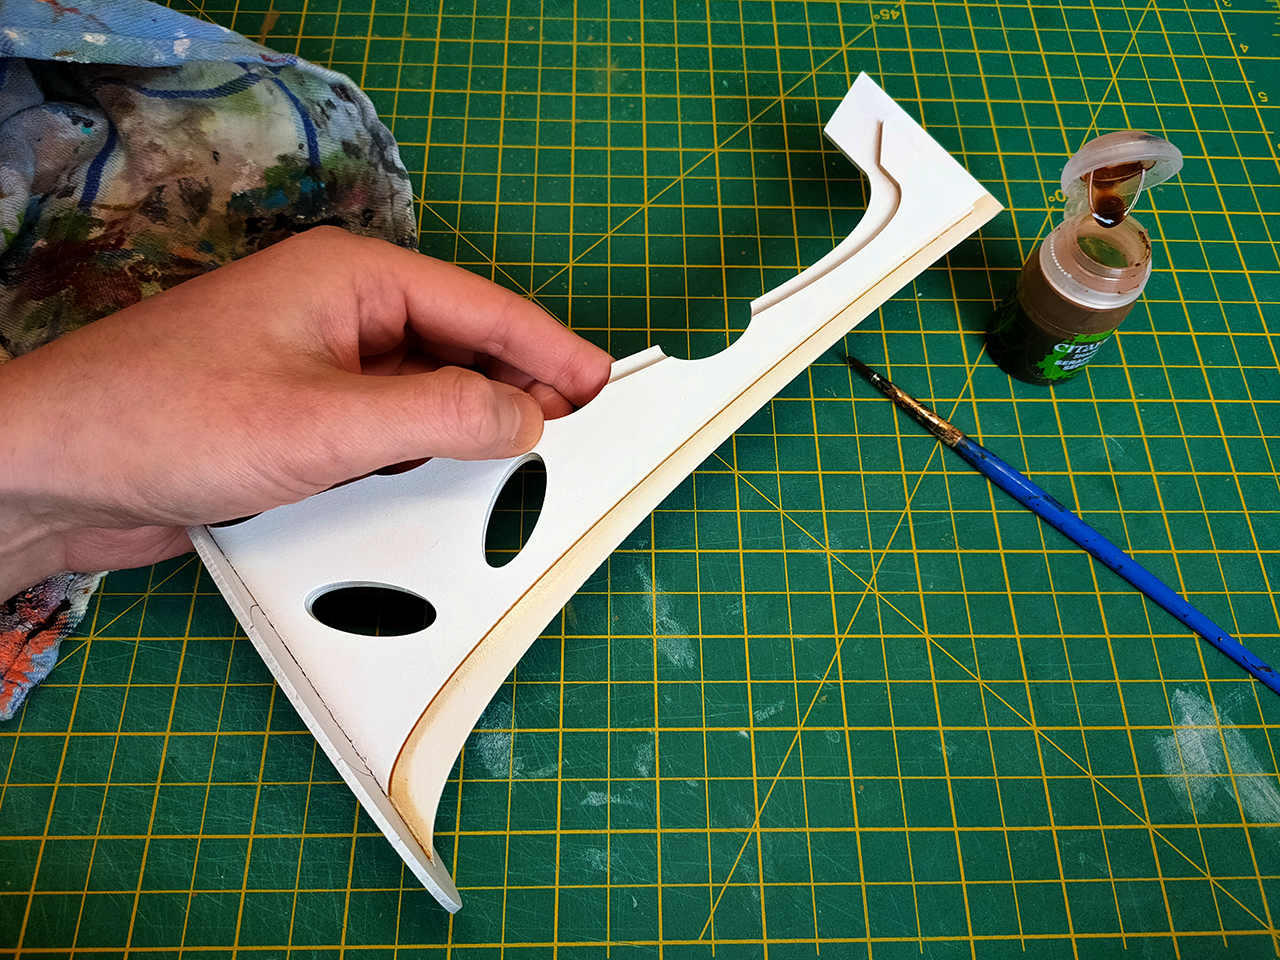
With some practice you can get an even gradient from the sepia wash, giving you a sleek finish with very little effort.
Workbench to tabletop in only two steps!
Which method did you prefer? Have you tried any of these yet? Leave your comment below or hit up the Facebook and Twitter channels!